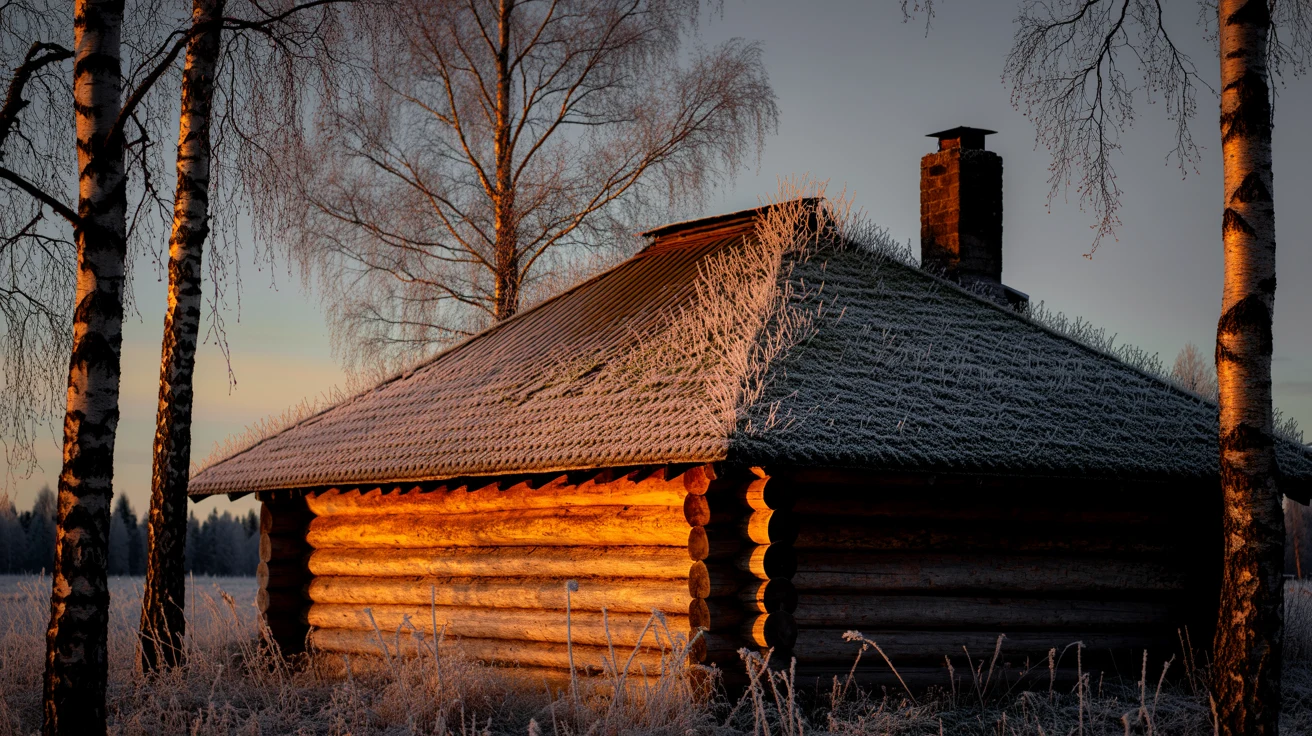
Opening and Closing an Outdoor Sauna for the Season
The thing that kills a closed-up sauna over winter isn’t the cold. Wood-fired saunas in Finland sit through months of hard frost every year and reopen fine. What ruins them is trapped damp: a sealed room with no airflow, holding just enough moisture to grow mould in the bench seams and the corner where the ladle drips. Cold you can ignore. Damp you have to manage.
Whether you’re heating an outdoor sauna through a cold snap or closing up a cottage sauna until spring, the whole job comes down to a few decisions about water, air, and the first fire back. Here’s how I handle each one.
The first fire of the season
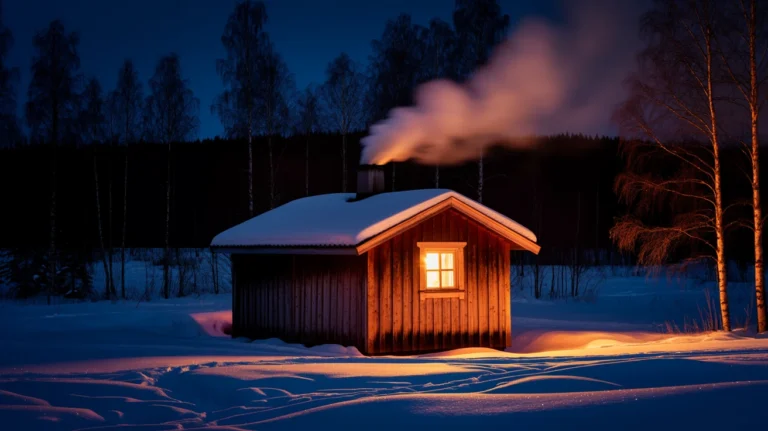
A sauna that’s been shut for months smells like it. The first fire is partly about heating and partly about driving that stale, slightly musty air out of the timber. Don’t rush it. Open every vent and the door, light a modest fire, and let the room come up slowly while it airs.
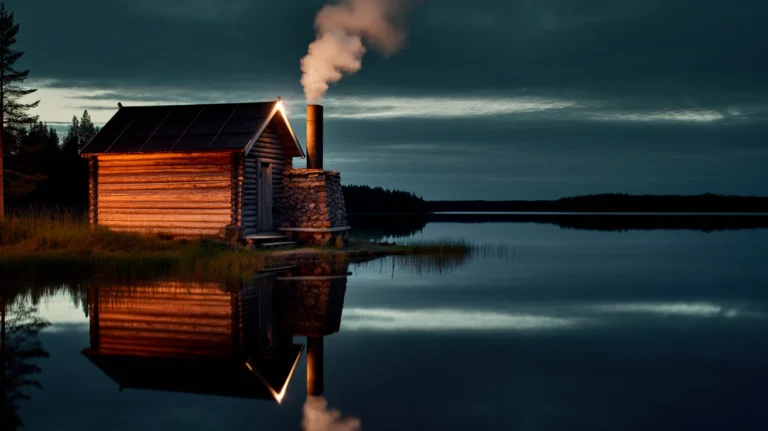
A wood-fired heater takes 30 to 45 minutes to reach temperature on a normal day, but after a long layup I run it longer and hotter with the door cracked, letting the heat bake moisture out of the benches and walls before I close up and actually use it. If the heater has new stones or you’ve replaced any, this first burn also cures them, cook off the dust and any packing residue before you throw the first water.
Expect some smell and even a little smoke off the metal on that first run. That’s normal, and it’s exactly why you air the room out rather than sealing yourself in with it.
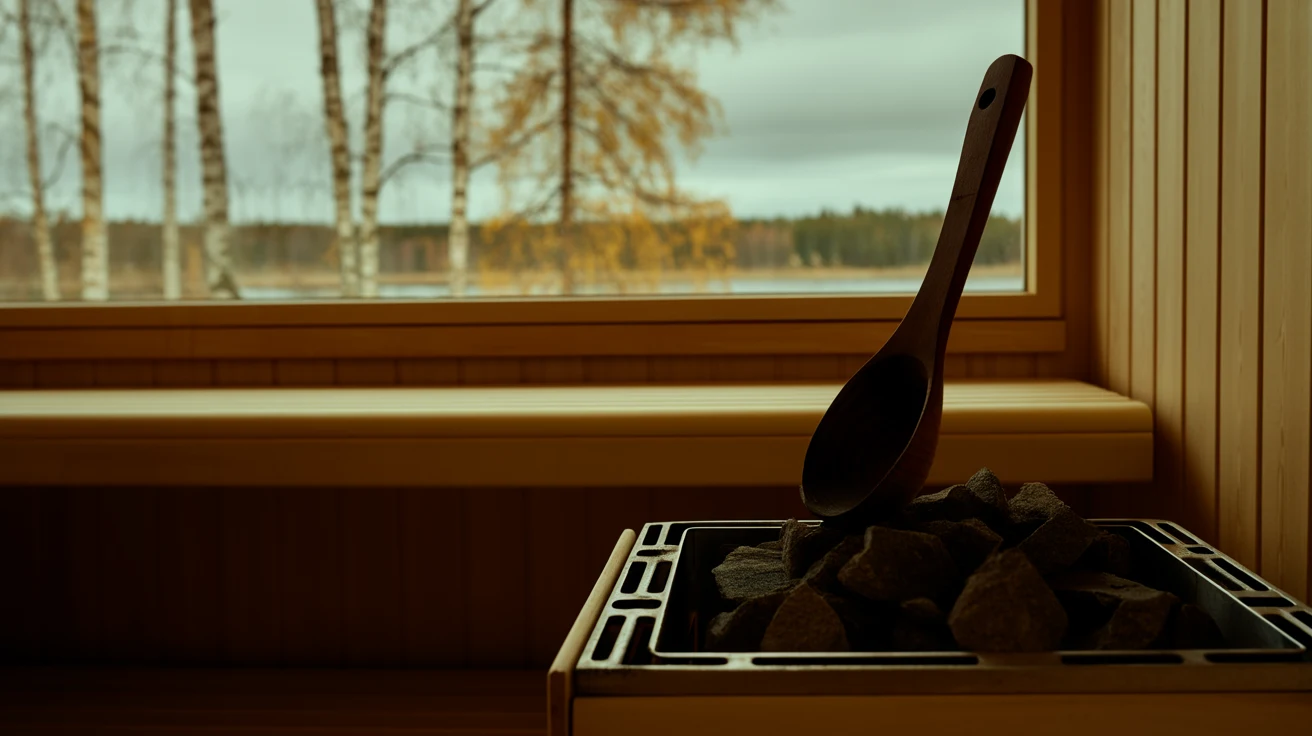
Closing up a cottage sauna at season’s end
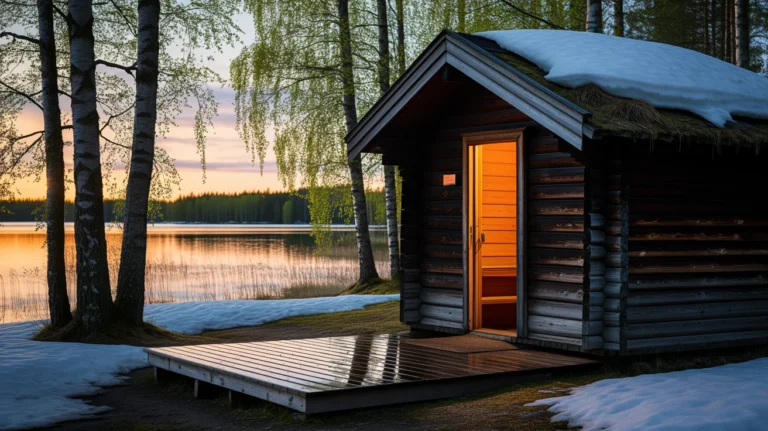
Most people meet a seasonal sauna at the summer cottage, the cabin sauna you fire up on weekends and then abandon when the lake starts to freeze and you stop making the drive. Closing it properly is mostly about removing everything that can hold water or freeze, then leaving the building able to breathe.
Strip the room of anything soft or absorbent. Take home the towels, seat covers, birch whisks, and any cushions, they’ll grow mould in an unheated room faster than anything else. Empty and dry the water bucket and ladle completely, then store them somewhere they won’t sit in their own condensation. Sweep out debris and give the benches a wipe so you’re not leaving organic gunk to feed mould over a dark, still winter.
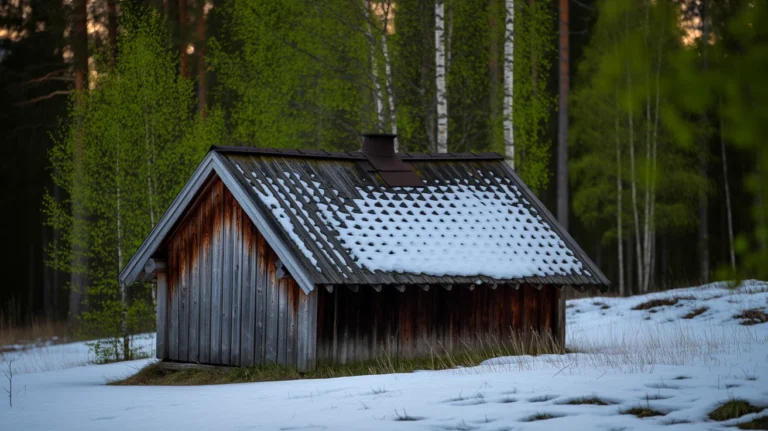
The one thing people get wrong: they close the door and every vent to “keep the weather out.” That seals the damp in. Leave the vents open. If the sauna has a floor drain, make sure it’s clear so meltwater and condensation can escape rather than pool. Closing is only one part of the seasonal cycle, and the wider rhythm of sauna through the seasons covers how each time of year changes how you run the room.
Freeze protection for water and lines
Cold doesn’t hurt the timber, but it will split anything holding water. If your sauna has plumbed water, a supply line to a shower, a tap, a hot-water tank, that’s the part winter breaks. Drain it. Shut off the supply, open the taps, and let the lines empty so there’s no water left to freeze and crack a pipe or fitting.
The rundown for anything that holds water:
- Water bucket and ladle: empty, dry, and ideally bring them indoors. A wooden bucket left full will freeze, split its staves, and be firewood by spring.
- Plumbed lines and taps: drain fully and leave taps open so any residual water has somewhere to expand.
- Water heater or tank: drain it per the maker’s instructions; a tank of standing water is the most expensive thing to freeze.
- Floor drain trap: if it holds standing water, it can freeze, pour in a little non-toxic RV/plumbing antifreeze if the trap can’t be drained.
If you’re in a mild-winter climate where hard freezes are rare, this is less urgent, but “rare” is doing a lot of work in that sentence. It only takes one cold night to split a bucket.
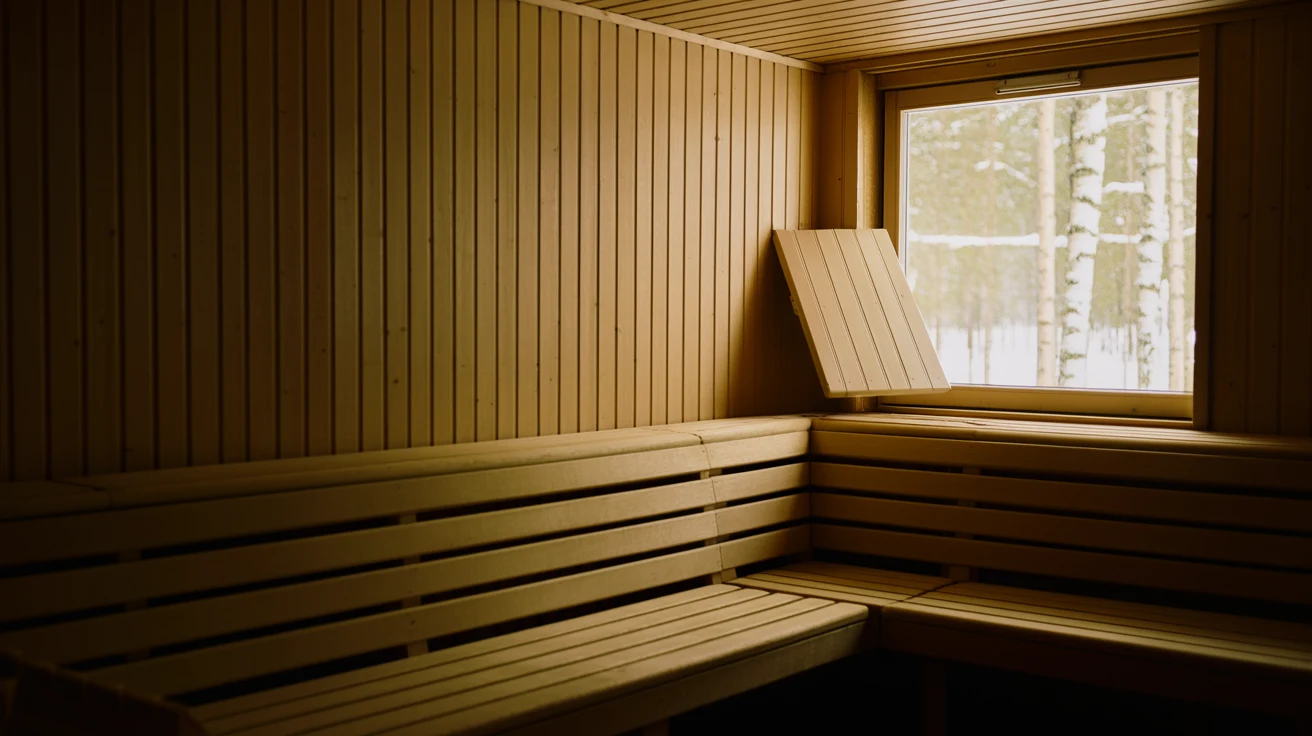
Leave it able to breathe
This is the single rule that matters most over a long layup, so it gets its own section. An unheated sauna over winter needs airflow more than it needs to be sealed. Trapped moisture with nowhere to go is what grows mould in the corners, blackens the bench undersides, and leaves you scrubbing in spring.
Leave the intake and exhaust vents open for the whole layup. If you can, prop the door slightly ajar, or at least leave it unlatched so the room isn’t airtight. The goal is slow, constant air exchange, cold dry winter air moving through does far less harm than warm damp air with no exit.
Spring reopening checklist
Reopening is the closing routine in reverse, plus an inspection. Work through it in order before you light anything:
- Inspect for damp and mould: check the ceiling, bench undersides, and corners. A little surface mould wipes off; deep staining means your ventilation over winter wasn’t enough.
- Check the chimney and flue: look for nests, blockages, and creosote before the first fire. This is non-negotiable on a wood-fired heater.
- Reconnect and refill water: close the taps, restore the supply, and check every fitting for winter cracks as the water comes back on.
- Inspect the heater and stones: look for rust, cracked stones, or corrosion. Cracked or crumbling stones get replaced now, not later.
- Do the first fire: the slow, well-aired shakedown burn from the top of this article, before anyone bathes.
Once it’s fired, aired, and proven, you’re back to normal running. Finnish-style bathing sits at 70 to 100°C (158 to 212°F), with 80 to 90°C the comfortable middle. The Finnish Sauna Society is a good reference if you want to check practices against the source culture.
Everything past this point, the regular upkeep between sessions and the cleaning products worth keeping on the shelf, is ordinary in-season care rather than opening and closing, and I’ve covered both in their own guides.
FAQ
How do you winterize an outdoor sauna?
Drain and empty everything that holds water, water bucket, ladle, plumbed lines, and any tank, so nothing freezes and splits. Remove towels, seat covers, and whisks, wipe down the benches, and clear the floor drain. Then leave the vents open and the door unlatched so the closed-up room can breathe over winter.
Does an unheated sauna need to be protected from the cold?
The timber and heater handle hard frost fine, Finnish saunas sit through months of it every year. The real risk is trapped moisture growing mould, not the cold itself. The exception is anything holding water: buckets and plumbed lines will freeze and crack, so those must be drained.
Why should you leave sauna vents open over winter?
A sealed, unheated room holds damp with nowhere to escape, which grows mould in the corners, on bench undersides, and along the ceiling. Open vents allow slow air exchange so moisture can leave. Cold, dry air moving through the room does far less harm than warm, damp air trapped inside.
What should the first fire of the season involve?
Run it slow and well-aired: open all vents and the door, light a modest fire, and let the room heat gradually to bake moisture out of the timber and clear the stale smell. Use it as a shakedown to confirm the flue draws, the vents work, and nothing’s blocking the chimney, then bathe the next day.
How do you reopen a sauna in spring?
Inspect for damp and mould on the ceiling and benches, check the chimney and flue for blockages, reconnect and refill the water while checking fittings for cracks, and examine the heater and stones for rust or damage. Finish with a slow first fire to air the room out before anyone bathes.