Building a Home Sauna: The Complete Guide
Some links on this page are affiliate links. If you buy through them, I earn a small commission at no extra cost to you. As an Amazon Associate I earn from qualifying purchases.
A decent home sauna costs less than most bathroom renovations. $3,000-6,000 in materials gets you a proper 4-person room with an electric heater, ventilation, and cedar benches – and it’ll outlast your kitchen. Even a fully installed prefab kit runs $6,325-$16,480+ depending on size. The catch isn’t money. It’s making the right decisions in the right order, because a sauna built with a bad vapor barrier is a sauna that rots from the inside out within a few years.
This guide walks through every decision in sequence: where to put it, how big to make it, what to build it from, and whether to do it yourself or hire someone. No fluff, no “wellness journey” – just the information you need to build a sauna that works and lasts.
Indoor vs Outdoor: The First Decision
This is the fork that determines everything else – budget, permits, timeline, and what kind of heater you can use. Neither option is universally better. It depends on your space, your property, and whether you want a wood-burning stove.
| Factor | Indoor | Outdoor |
|---|---|---|
| Cost | Lower – no exterior shell, foundation, or roofing needed | Higher – requires foundation, weatherproof structure, roofing |
| Convenience | Year-round, no walking outside in cold or rain | Requires a trip outside, but cooling off is easier (snow, cold air, outdoor shower) |
| Wood-burning stove | Generally not feasible (chimney routing through living space is complex) | Simple chimney routing |
| Electrical/plumbing | Easy to connect to existing systems | Requires running 240V power to a separate structure |
| Permits | Usually just an electrical permit | Often requires a building permit (new accessory structure) |
| Maintenance | Less – no weather exposure on exterior | More – exterior surfaces need protection from elements |
| Heat-up time | Faster – insulated surroundings help | Longer in cold climates – the structure itself needs warming |
| Authenticity | Functional, convenient | Traditional – Finnish saunas are separate buildings |
If you have a spare room, basement corner, or large bathroom you’re willing to sacrifice, indoor is the path of least resistance. If you want a wood-fired kiuas (stove) and the experience of stepping outside to cool down between rounds, outdoor is worth the extra cost and complexity.
Permits: What You Actually Need
Permit requirements vary dramatically by jurisdiction, but here’s the practical reality: almost every home sauna requires at least an electrical permit. That 240V/30-60A dedicated circuit for your heater isn’t something you can legally wire yourself in most places, and the permit comes with the licensed electrician’s work.
Beyond electrical, permits are triggered by scope:
- Indoor conversion (no structural changes): Electrical permit only in most jurisdictions
- Indoor with structural modifications (moving walls, reinforcing floors): Building permit
- Outdoor new structure: Building permit typically required, plus compliance with setback requirements (usually 5-10 ft from property lines)
- Wood-burning stove: May require a separate fire/mechanical permit and inspection
- Plumbing additions (floor drain, shower): Plumbing permit
The International Residential Code doesn’t have a specific sauna section. Saunas must comply with general electrical, ventilation, and fire safety provisions. UL-listed heaters installed per manufacturer specs are typically accepted by local inspectors without issue. Call your local building department before you start – a five-minute phone call can save you from a stop-work order.
Sizing Your Sauna
The standard rule: allow approximately 2 feet of bench length per seated person. But the real constraint is whether you want to sit or lie down, because lying down in a sauna is a completely different experience – and requires a completely different footprint.
| Capacity | Interior Dimensions | Square Footage | Best For |
|---|---|---|---|
| 1 person | 3×4 ft | 12 sq ft | Solo use, tight spaces |
| 2 people | 4×4 ft | 16 sq ft | Couples, small apartments |
| 3-4 people | 5×6 ft or 4×7 ft | 28-30 sq ft | Most home saunas – the sweet spot |
| 4-6 people | 6×7 ft or 6×8 ft | 42-48 sq ft | Families, socializing, lying down |
| 6+ people | 7×7 ft or 8×8 ft | 49-64 sq ft | Entertaining, larger families |
Ceiling height should be 6’4″ to 7 ft. Lower ceilings retain heat better and reduce the demand on your heater. You don’t need cathedral ceilings in a sauna – you need concentrated heat where people are sitting. Heater sizing follows from room volume: Harvia’s rule of thumb is about 1 kW for every 35 cubic feet. A 5×7 ft room with a 7 ft ceiling (245 cubic feet) sits near the middle of a 6 kW heater’s range.
What It Actually Costs
Sauna pricing has four tiers, and the gaps between them are real. Where you land depends on providing your own labor, using a kit, or hiring someone to handle everything.
| Build Approach | Cost Range (2025) | What’s Included |
|---|---|---|
| DIY materials package | $3,000-$6,000 | Cedar T&G paneling, pre-built benches, door, heater. You frame, insulate, install. |
| Prefab indoor kit (self-assembled) | $6,325-$16,480+ | Pre-built insulated wall panels, benches, heater, door. No framing required. |
| Prefab outdoor kit | $8,150-$23,225+ | Complete outdoor structure with roof. Requires foundation and electrical. |
| Barrel sauna kit | $4,000-$15,000 | Pre-cut barrel sauna package. Simpler assembly but insulation limitations. |
| Custom contractor build | $15,000-$40,000+ | Everything – design, materials, labor, permits, finishing. |
The prefab kit prices (from Cedarbrook Sauna, 2025) don’t include electrical wiring or shipping. Budget an additional $500-$1,500 for a licensed electrician to run your 240V circuit, depending on how far your panel is from the sauna location. Outdoor kits also require a foundation – concrete slab, pavers, or a wood platform – which adds to the total.
Prefab Kit Pricing by Size (Indoor)
| Size | Capacity | Price |
|---|---|---|
| 3×3.5 ft | 1 person | $6,325 |
| 4×5 ft | 2-3 people | $8,175 |
| 5×7 ft | 3-4 people | $10,840 |
| 6×8 ft | 4-6 people | $12,755 |
| 8×8 ft | 6+ people | $16,480 |
Wood Selection
The wood you choose affects how the sauna looks, smells, feels against your skin, and how long it lasts. Every surface inside the hot room should be untreated softwood – no varnish, no polyurethane, no stain. The wood needs to breathe.
| Wood | Strengths | Weaknesses | Best For |
|---|---|---|---|
| Western Red Cedar | Naturally rot-resistant, aromatic, lightweight, doesn’t splinter | Higher cost, strong aroma not for everyone | Most home saunas – the North American standard |
| Nordic White Spruce | Traditional Finnish choice, light color, lower cost than cedar | Less rot-resistant, can develop resin pockets | Indoor saunas, purists who want Finnish authenticity |
| Aspen/Poplar | Hypoallergenic (no aroma), soft and comfortable, doesn’t overheat | Less durable, not rot-resistant | Indoor saunas, chemical-sensitive users |
| Thermally Modified | Dimensionally stable, rot-resistant without chemicals, modern look | More expensive, darker color, can be brittle | Design-forward builds, outdoor applications |
Woods to avoid in a sauna: pressure-treated lumber (releases toxic chemicals at sauna temperatures), high-resin pine (sap bleeds at heat), plywood and OSB (glue off-gasses), and anything finished with varnish or polyurethane. If it has glue, it doesn’t belong in your hot room.
Insulation: The Invisible Performance Layer
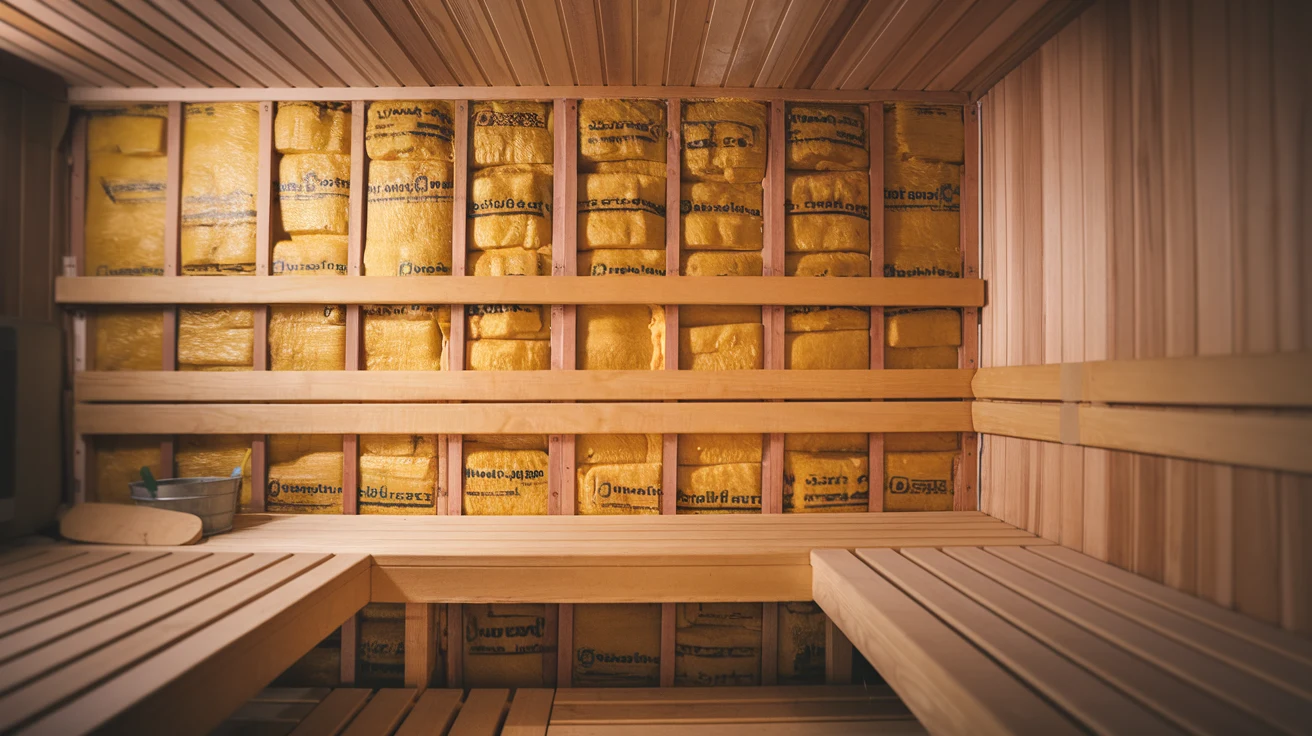
A well-insulated sauna heats up faster, holds temperature more evenly, and costs less to run. A poorly insulated one makes your heater work overtime, creates cold spots on the benches, and wastes energy.
Target R-13 minimum for walls (standard 2×4 stud wall with fiberglass or mineral wool batts). R-20 is ideal – Cedarbrook’s prefab kits use 4-inch panels rated R-20. The ceiling is the most critical surface because heat rises: aim for R-20 to R-30 there. Floor insulation isn’t required on a concrete slab, but if your sauna is over a crawlspace, R-13 underneath helps.
Use mineral wool (Rockwool) over fiberglass if you can. It withstands higher temperatures and doesn’t sag when exposed to heat over time. Do not use foam board insulation (polystyrene or polyurethane) directly behind the vapor barrier – some types off-gas at sauna temperatures.
Vapor Barrier: Where Most Home Saunas Fail
This is the single most important detail in sauna construction, and it’s the one most DIY builders get wrong. The vapor barrier prevents moisture – steam and condensation generated inside the sauna – from penetrating into the insulation and wall framing. Without it, or with it installed incorrectly, you get mold, rot, and structural failure. Sometimes within just a couple of years.
Material: Aluminum foil vapor barrier is the sauna standard. It does double duty: blocking moisture and reflecting radiant heat back into the room (improving efficiency). Regular polyethylene sheeting can work but doesn’t reflect heat, and some types degrade at temperatures above 80°C (176°F).
Placement: Always on the warm side (interior side) of the insulation – between the insulation and the cedar paneling. This is the opposite of how vapor barriers work in some standard construction, which trips up general contractors who haven’t built saunas before.
Installation rules:
- All seams overlapped and sealed with aluminum foil tape (not duct tape – it fails at sauna temperatures)
- Continuous coverage on walls AND ceiling with no gaps at corners or junctions
- Cedar paneling installed over furring strips to create a small air gap between foil and wood
- Every penetration – electrical boxes, vents, heater connections – sealed with foil tape
- The floor does NOT get a vapor barrier (moisture needs to drain downward)
Ventilation: Fresh Air Without Losing Heat
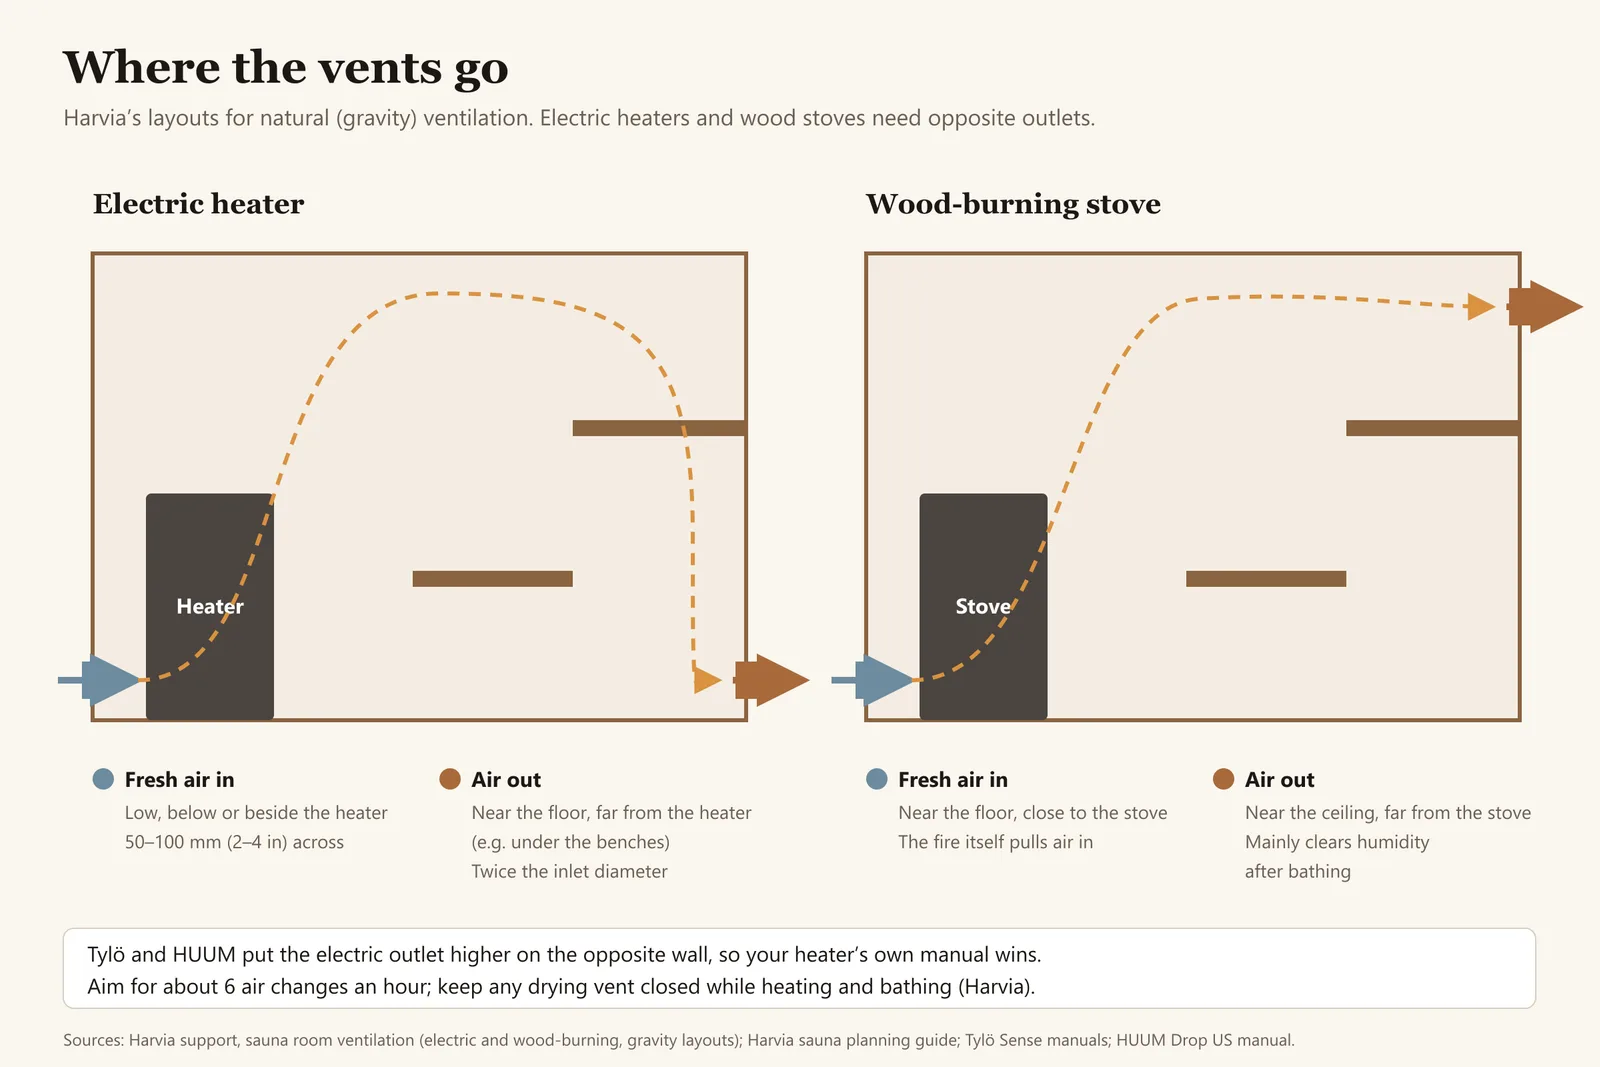
A sauna needs to breathe. Proper ventilation supplies fresh air for comfortable breathing, distributes heat evenly, and – critically – allows the sauna to dry out after each session. The air inside should exchange approximately 6 times per hour.
The basic design: intake low near the heater, exhaust high on the opposite wall. Fresh air enters at floor level where the heater immediately warms it. That warm air rises, circulates past the bathers on the upper bench, and exits through a vent near the ceiling on the far wall. Natural convection does most of the work.
Vent openings are typically 4×8 inches to 6×12 inches, fitted with adjustable louvers so you can control airflow during sessions. After the session, open all vents fully and prop the door open to dry the sauna completely – this is more important for longevity than any finish or treatment you could apply to the wood. An optional exhaust fan on a timer helps clear moisture faster.
Heater Integration
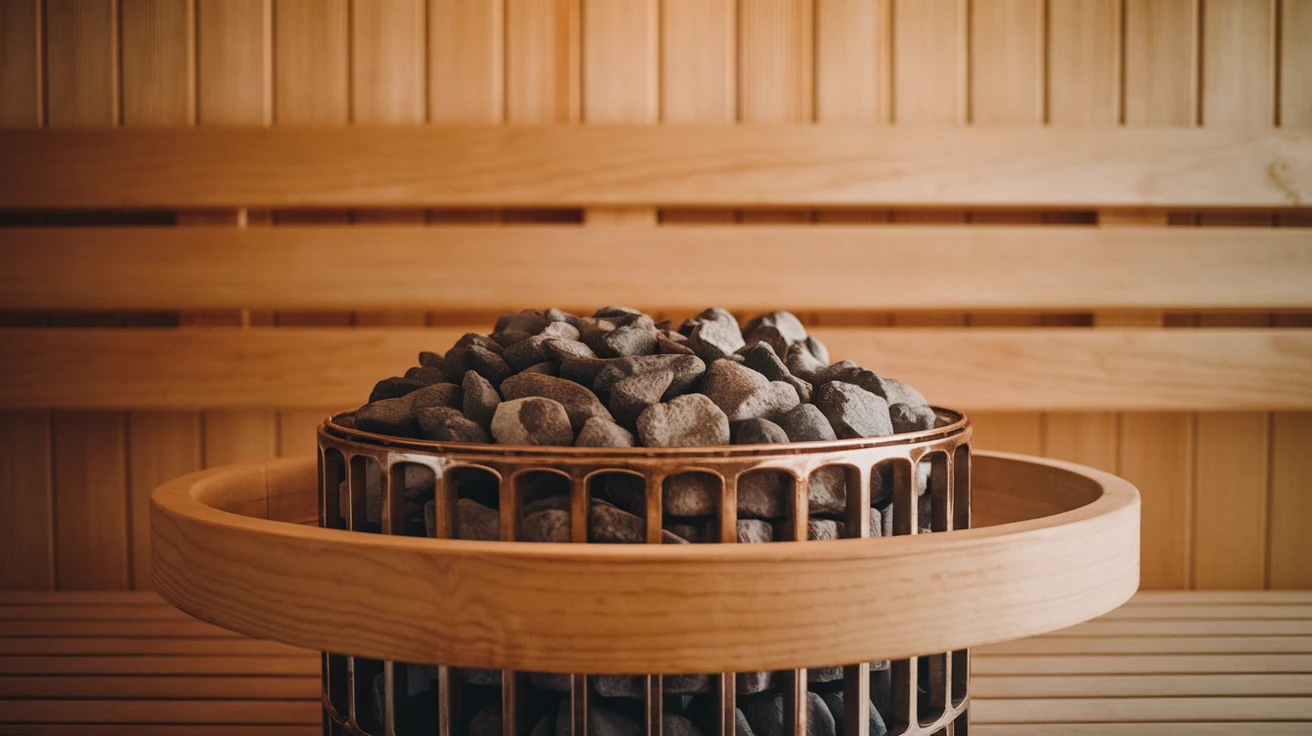
For most home saunas, especially indoor builds, an electric heater is the choice. It requires a dedicated 240V circuit but no chimney, no fuel storage, and no fire tending. Wood-burning stoves are beautiful and traditional but add complexity – chimney routing, clearances, and a mechanical permit in many jurisdictions.
Electric Heater Sizing
Match heater kW to your room’s cubic footage, about 1 kW per 35 cubic feet on Harvia’s rule. Glass and uninsulated stone count as extra room volume, about 4 cubic feet for every square foot, so a glass door can push a room into the next size up. An 8 kW heater covers 250 to 425 cubic feet, which fits a 6×8 ft room with a 7 ft ceiling. The sauna heater sizing guide walks through the numbers.
Electric Heater Prices (2025)
| Heater | Power | Controls | Price |
|---|---|---|---|
| Finlandia FIN 80 | 8 kW | External | $870 |
| Finlandia FLB 80 | 8 kW | Built-in | $1,003 |
| Harvia Cilindro | 8 kW | Built-in | $1,280 |
| Harvia Virta 8 | 8 kW | External | $1,490 |
| HUUM DROP 7.5 | 7.5 kW | WiFi | $1,672 |
| Scandia | 7.5 kW | — | $1,910 |
| HUUM HIVE Mini | 9 kW | WiFi | $2,657 |
| Harvia Virta Combi 8 | 8 kW + steamer | WiFi | $3,080 |
Electrical requirements: 240V single-phase, dedicated circuit. A 6 kW heater needs a 30A breaker; 8-9 kW needs 40A; 10.5 kW+ needs 50-60A. This must be wired by a licensed electrician – no exceptions. The heater circuit cannot share a breaker with anything else.
Control Options
Built-in controls (mounted on the heater body) are the simplest – no external control box to wire. External analog controllers offer a wall-mounted timer and thermostat. Digital and WiFi controllers let you preheat your sauna remotely, which sounds like a luxury until you’ve experienced stepping into a preheated sauna after a long day without having to plan 45 minutes ahead.
Bench Design
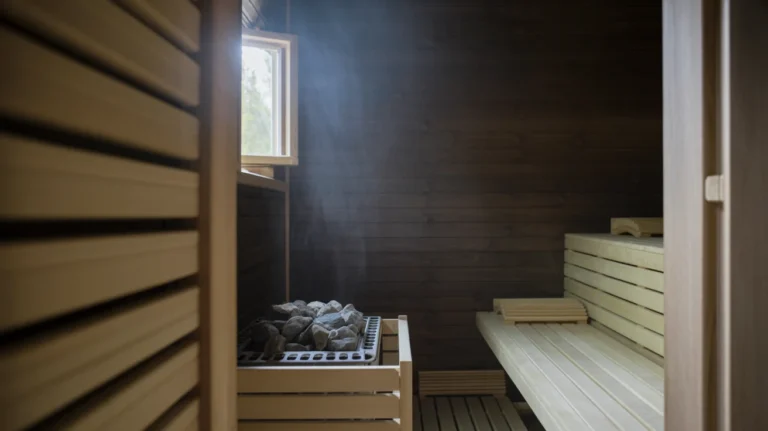
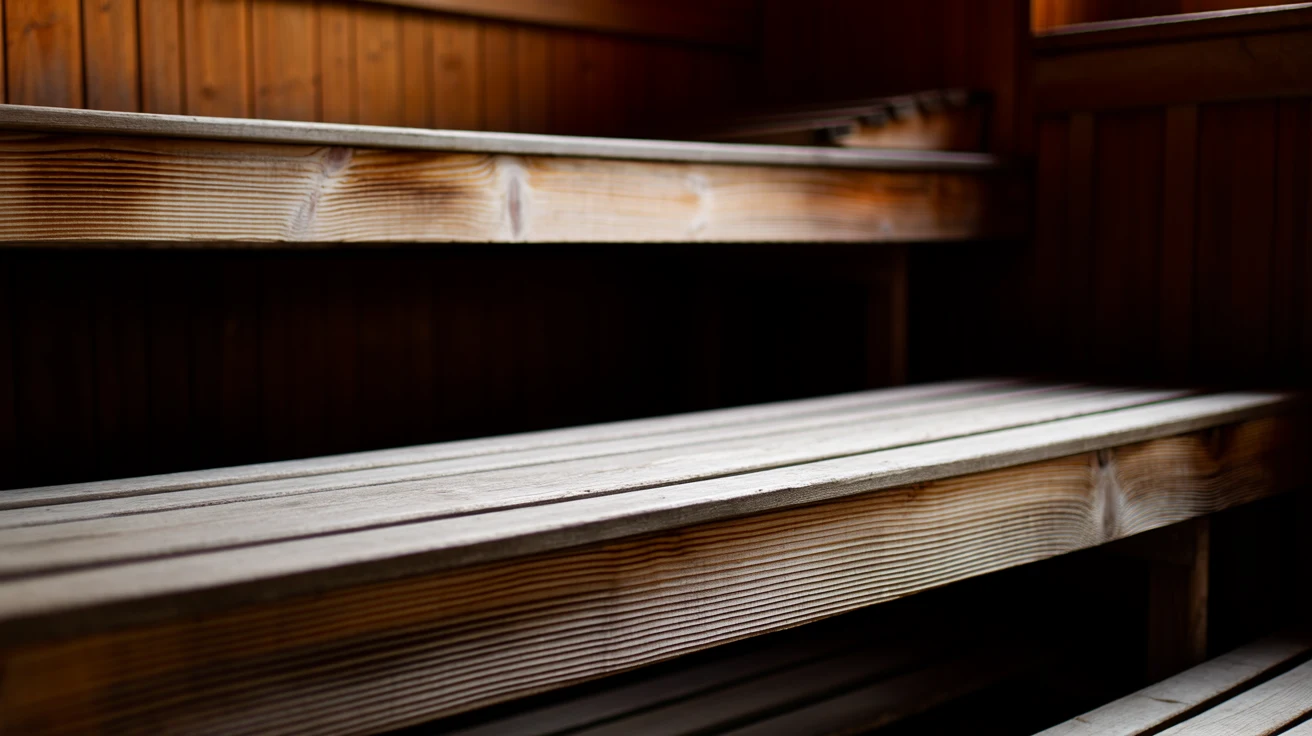
Traditional Finnish saunas have at least two bench levels: an upper bench (hottest) and a lower bench (cooler, for acclimating or for children). The positioning relative to the heater is what matters most.
Two critical principles: First, the top of the heater stones should be level with or slightly below the upper bench platform. This puts bathers in the hottest zone where löyly (the burst of steam from water on stones) rises. If your benches are too low relative to the heater, you’re sitting below the good heat. Second, leave at least 40 inches from the upper bench to the ceiling so you can sit comfortably without hunching.
Upper bench depth should be 18-24 inches for sitting, or the full wall width if you want to lie down. The lower bench sits 16-18 inches below the upper bench. Use the same wood as your walls – cedar, aspen, or spruce – and make sure there are no exposed fasteners. Screws and nail heads at sauna temperatures will brand your skin. Sauna bench design starts from the ceiling, not the floor: hang the top bench the right distance below it, then step down to the foot bench.
Door Selection
Two non-negotiable safety requirements: the door must swing outward (so someone who collapses against it can still be rescued from outside) and it must not have a lock. Use magnetic or roller catches instead of mechanical latches – metal handles at sauna temperatures will burn your hand.
Beyond safety, the choice is mainly aesthetic. An all-glass door ($1,710) makes a small sauna feel larger and lets in natural light. A cedar door with a window ($1,275-$1,375) is the most popular choice. A solid cedar door ($1,295) maximizes heat retention and gives a traditional look. Arched solid-core doors run up to $2,200 for a premium aesthetic. All glass must be tempered – standard glass can shatter at sauna temperatures.
The standard rough opening is 24×82 inches. Plan for this in your framing.
Lighting and Electrical
Your sauna has two separate electrical needs: the heater circuit (240V, dedicated) and the lighting circuit (120V, can sometimes share with an adjacent room).
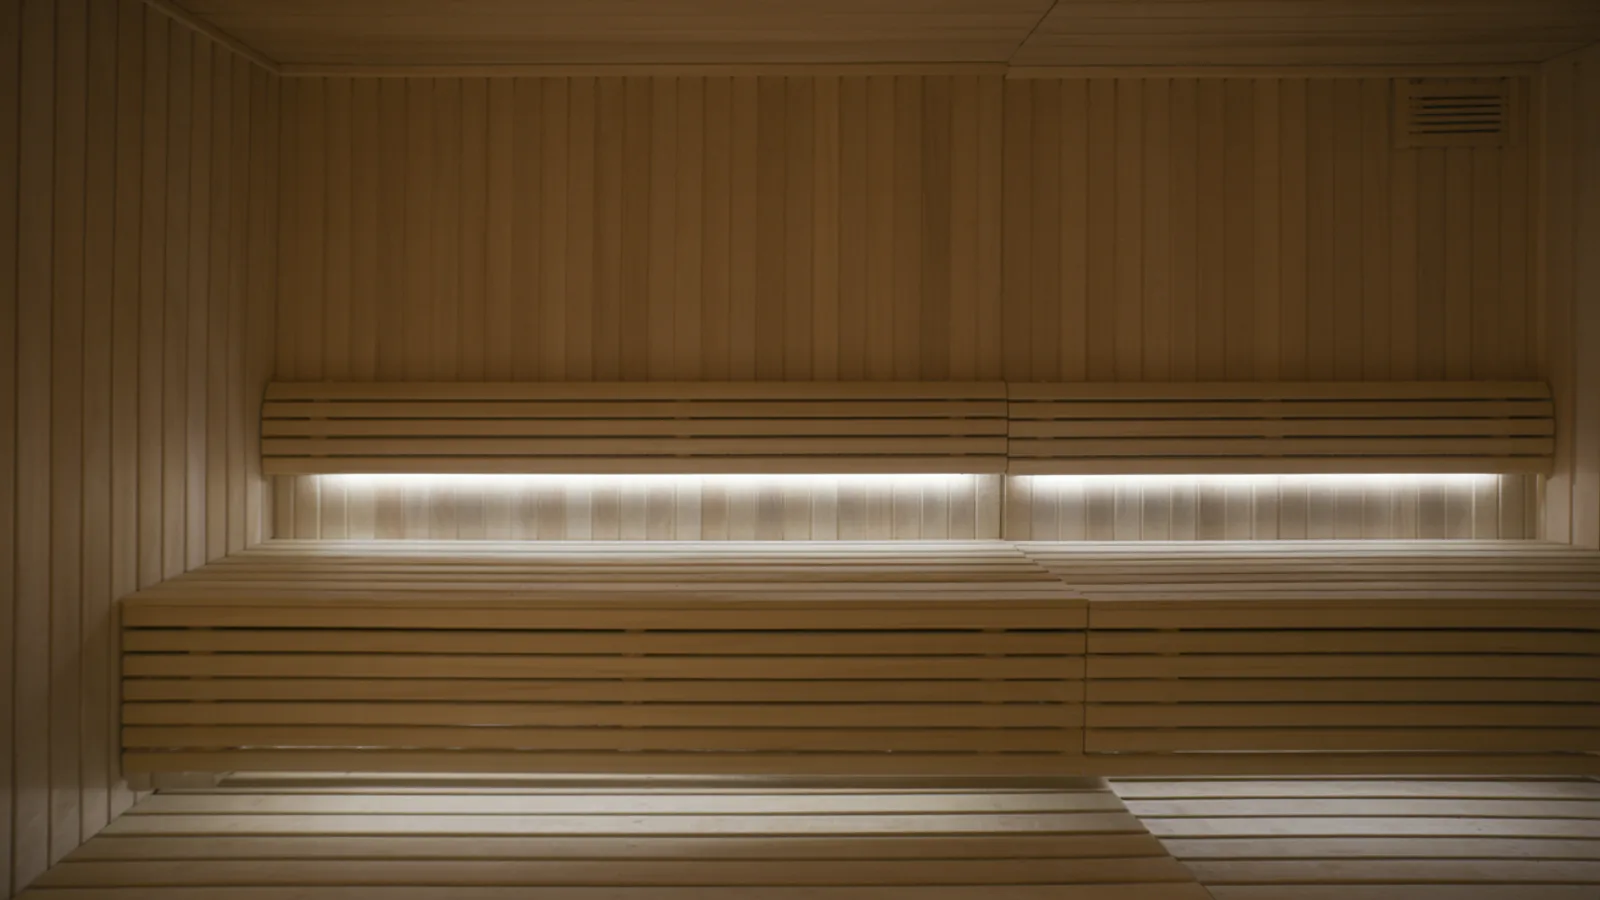
For lighting, you have several options. Recessed ceiling fixtures rated for sauna use or damp/wet locations are the simplest. Low-voltage LED strips behind backrests or under benches create atmospheric ambient lighting – but they must be rated for temperatures up to 110°C (230°F). Fiber optic lighting is the safest option: no electricity enters the hot room at all, as the light source sits outside the sauna and fiber cables carry only light. It’s also the most expensive.
All wiring runs behind the vapor barrier through the wall cavity. Inside the hot room near the heater, transition to high-temperature silicone-jacketed wiring. Keep all junction boxes outside the hot zone. GFCI protection is recommended for any outlets near the sauna. All electrical work should be done by a licensed electrician – the combination of heat, moisture, and high-amperage circuits is not a DIY electrical project.
DIY vs Contractor: Deciding Who Builds It
The honest answer is that most home saunas fall somewhere between full DIY and full contractor – a hybrid approach where you handle the carpentry and hire professionals for electrical and any plumbing.
| Approach | Cost (2025) | Your Skill Requirement | Best When |
|---|---|---|---|
| DIY materials package | $3,000-$6,000 | Framing, insulation, finish carpentry | Budget is the priority, you have construction experience |
| Prefab kit + self-assembly | $6,325-$12,755 + electrician | Light carpentry (panels snap together) | You want quality without framing from scratch |
| Custom contractor build | $15,000-$40,000+ | Writing checks | Structural mods needed, outdoor build with foundation, or complex custom design |
DIY makes sense when you’re converting an existing framed room or assembling a modular kit. Prefab kits from manufacturers like Cedarbrook are designed for this – wall panels stack on a track and connect, benches are pre-built, and air vents are pre-cut. The real work is in the vapor barrier detail and getting the electrical right.
Hire a contractor when you need structural modifications (moving walls, reinforcing floors for a heavy stone heater), when you’re building an outdoor structure from scratch with foundation and roofing, or when local code requires a licensed contractor to pull permits.
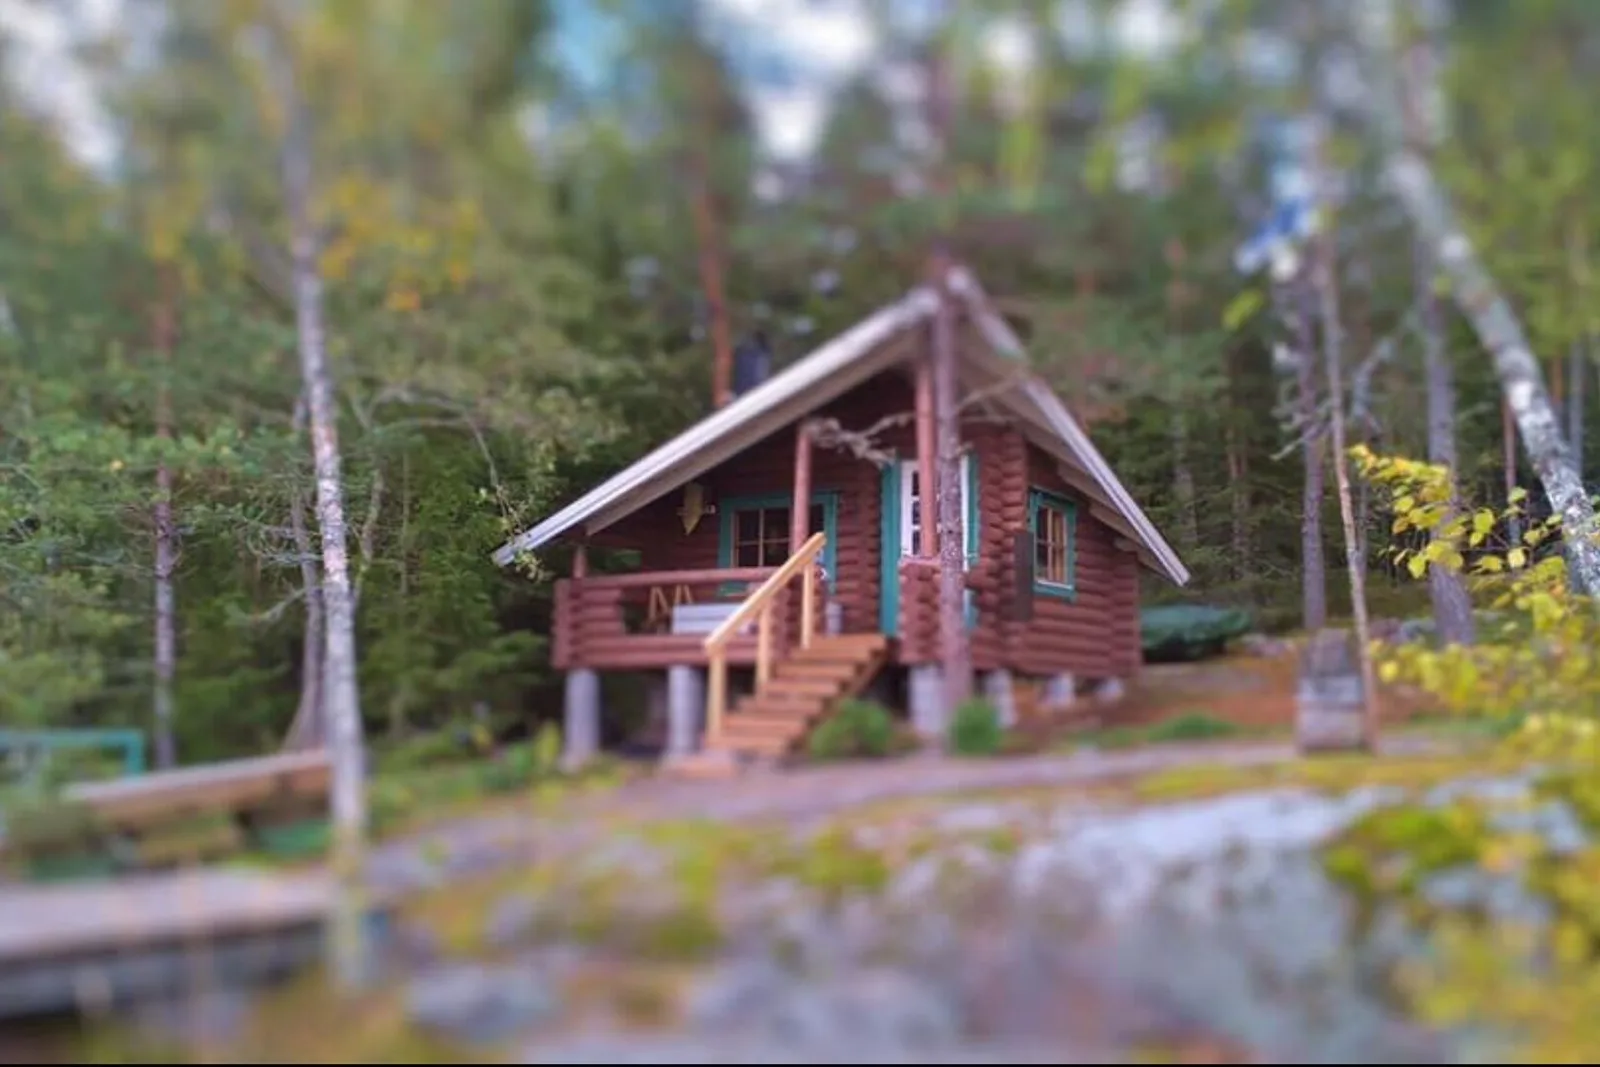
Photo: Ippee62, CC BY-SA 4.0, via Wikimedia Commons
Timeline: How Long It Actually Takes
Timelines vary wildly based on approach, but here’s what to realistically expect:
| Approach | Timeline | Notes |
|---|---|---|
| Prefab kit assembly | 1-2 days + electrician visit | Fastest. Panels connect on a track, benches pre-built. |
| DIY room conversion | 1-3 weeks (weekends) or 4-7 days full-time | Framing, electrical rough-in, insulation, vapor barrier, paneling, benches, door, trim, final electrical. |
| Contractor full build | 2-6 weeks | Includes design, permitting (1-4 weeks alone), construction, inspection. |
The hidden timeline cost: lead times. Prefab kits take 3-8 weeks from order to delivery. Manufacturers like Cedarbrook create a drawing for your approval before production begins. Order your kit before you start prep work, not after. If you need a permit, apply before your kit ships – permitting offices aren’t known for speed.
DIY Room Conversion Breakdown
- Framing: 1-2 days
- Electrical rough-in: 1 day (by electrician)
- Insulation: half to 1 day
- Vapor barrier: half to 1 day (take your time – this step matters most)
- Tongue-and-groove paneling: 2-3 days
- Bench construction and installation: 1-2 days
- Door, trim, vents, accessories: 1-1.5 days
- Final electrical (heater, lighting): half to 1 day (by electrician)
- Inspection: Schedule 1-2 weeks in advance
The Build Sequence
doing a DIY room conversion or managing a contractor, the order of operations matters. Here’s the sequence that avoids expensive rework:
1. Plan and permit. Finalize dimensions, heater selection, bench layout, and vent locations on paper. Pull permits. Order materials or kit.
2. Frame the room (if not using existing walls). Include rough openings for the door (24×82″) and vent locations. Run electrical conduit through framing before closing up walls.
3. Electrical rough-in. Licensed electrician runs the 240V heater circuit and 120V lighting circuit. This happens while walls are open.
4. Insulate. Mineral wool in all wall cavities and ceiling. R-13 minimum walls, R-20+ ceiling.
5. Vapor barrier. Aluminum foil over all insulated surfaces (walls and ceiling, not floor). Overlap seams, tape everything with foil tape. Seal every penetration. This is your most important step.
6. Furring strips and paneling. Attach furring strips over the foil to create an air gap, then install tongue-and-groove cedar paneling horizontally or vertically.
7. Benches. Install upper and lower bench supports, then bench platforms. Position the upper bench so the heater stones are level with or slightly below the bench surface.
8. Door. Hang the door – swinging outward – with magnetic catch. Install weatherstripping.
9. Heater, vents, lighting, trim. Mount the heater per manufacturer specs, install adjustable vent louvers, connect lighting fixtures, add trim pieces.
10. Final electrical and inspection. Electrician does final connections. Inspector signs off. You heat it up for the first time.
The first few sessions, run the sauna hot with all vents open for 30-60 minutes to cure the wood and burn off any residual manufacturing oils from the heater. The cedar smell will be strong. This is temporary and wonderful.
FAQ
How much does it cost to build a sauna?
It depends on your approach. A DIY materials package for a 4-person indoor sauna runs $3,000-$6,000. Prefab indoor kits that include pre-built wall panels, benches, and heater range from $6,325 to $16,480+ depending on size. A full custom contractor build costs $15,000-$40,000+. All options require a licensed electrician for the 240V heater circuit, which typically adds $500-$1,500.
Can I build a sauna myself?
Yes – especially if you’re using a prefab modular kit or converting an existing framed room with a materials package. Kit assembly requires light carpentry skills and takes 1-2 days. A full DIY room conversion requires framing, insulation, and finish carpentry experience, and takes 1-3 weeks on evenings and weekends. The one part you cannot DIY in most jurisdictions is the electrical work – hire a licensed electrician for the 240V heater circuit.
Do I need a permit to build a sauna?
Almost always, yes – at minimum an electrical permit for the 240V heater circuit. Indoor saunas that don’t alter the building footprint typically require only this electrical permit. Outdoor saunas built as new accessory structures usually require a building permit and must comply with local setback requirements (typically 5-10 ft from property lines). Always call your local building department before starting work.
How long does it take to build a home sauna?
A prefab kit can be assembled in 1-2 days plus an electrician visit. A DIY room conversion takes 1-3 weeks working evenings and weekends, or 4-7 days full-time. A contractor-managed custom build takes 2-6 weeks including permitting. The hidden factor is lead time: prefab kits take 3-8 weeks from order to delivery, so plan accordingly.
What’s the best wood for a home sauna?
Western Red Cedar is the most popular choice in North America – naturally rot-resistant, aromatic, lightweight, and splinter-free. Nordic White Spruce is the traditional Finnish option with a lighter color and lower cost. Aspen is ideal for people with chemical sensitivities since it’s hypoallergenic. Avoid pressure-treated lumber, high-resin pine, plywood, and any wood with varnish or polyurethane – these release toxic compounds at sauna temperatures.